Recipes
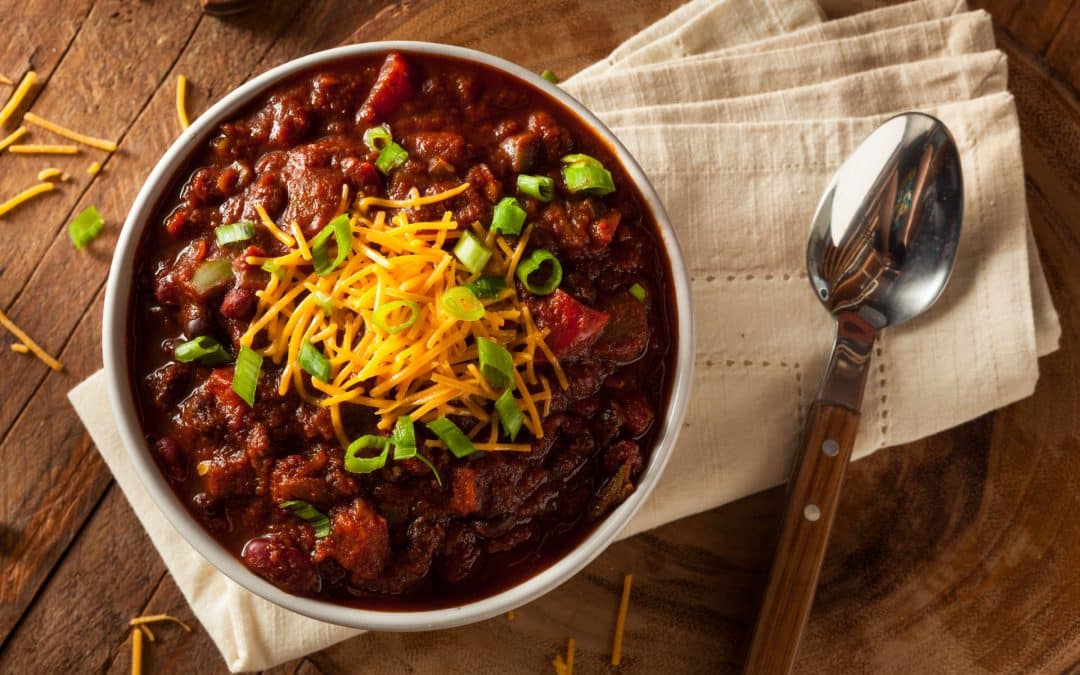
It’s almost game time! Although you and/or your guests may enjoy and be looking forward to all the traditional football fare, you can try some of these tips to keep everyone healthy and happy!
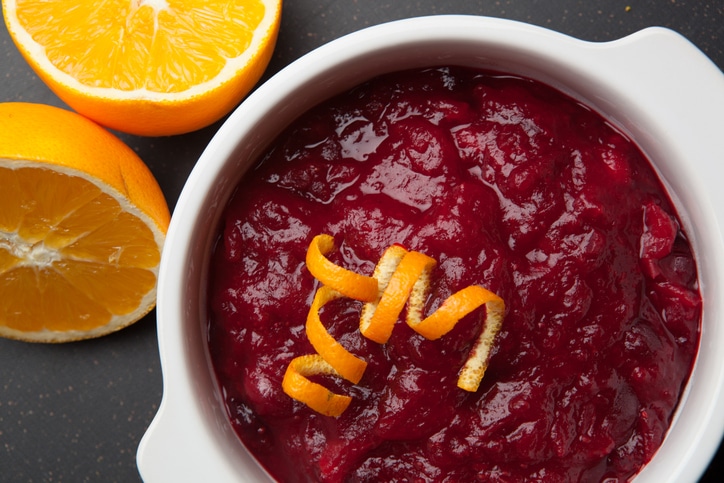
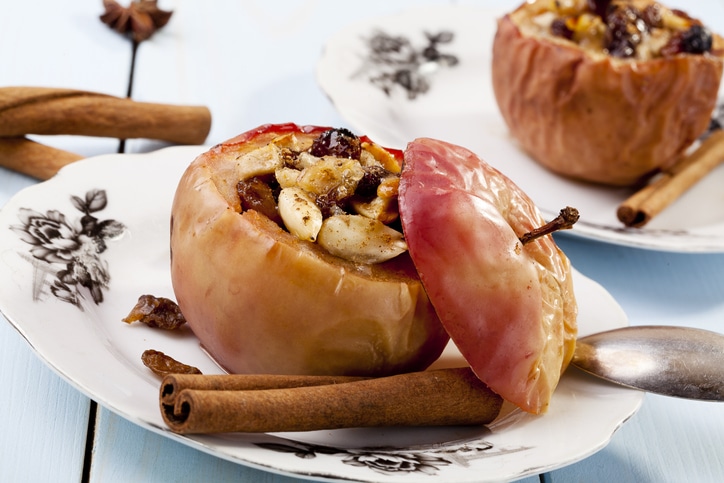
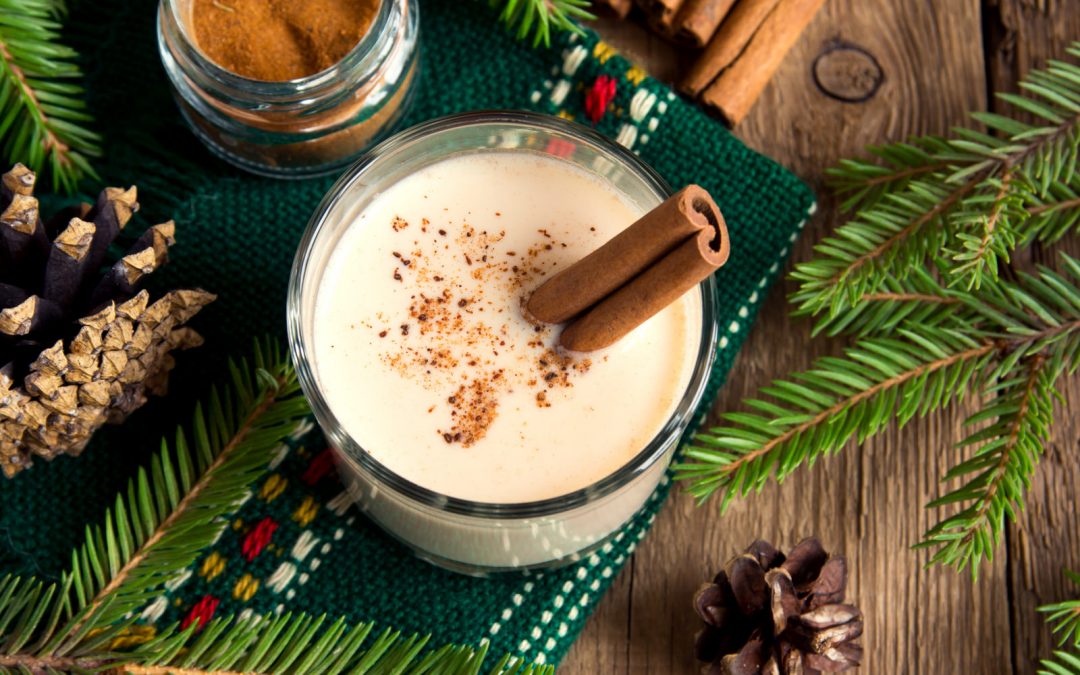
Holiday Tips, Recipes
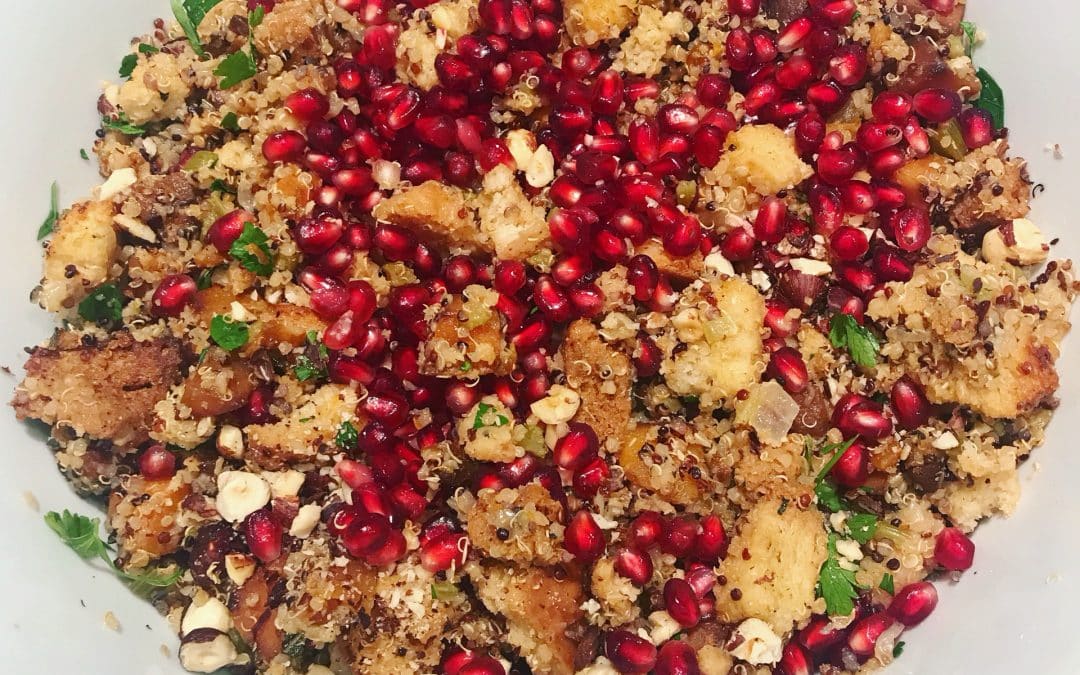
Here is where we get excited about blog posts.
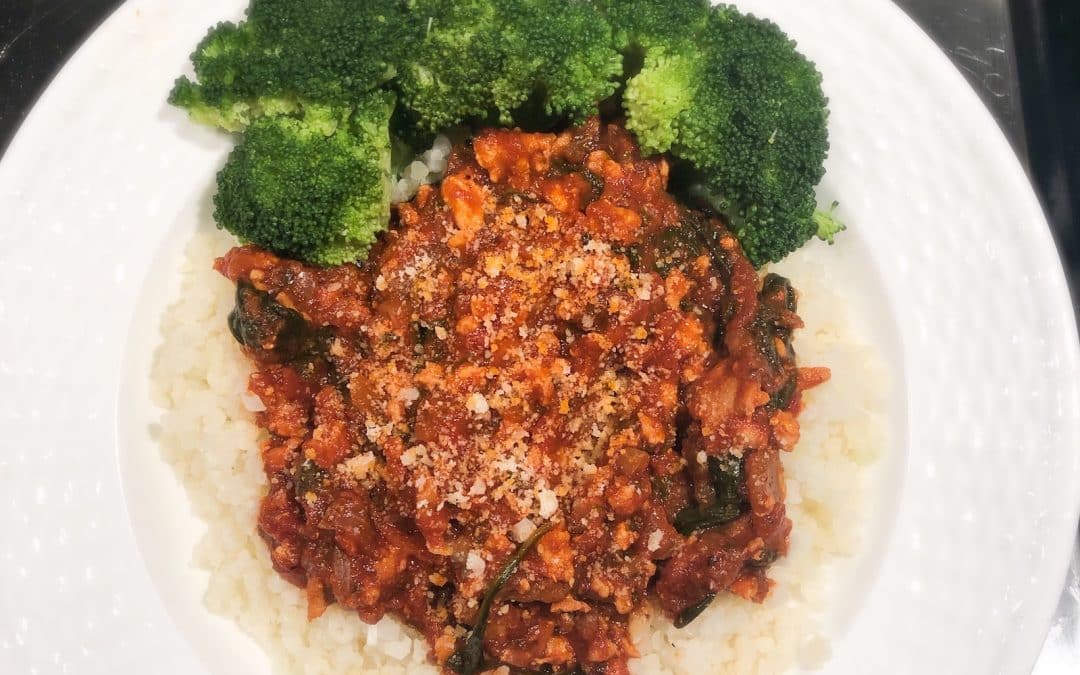
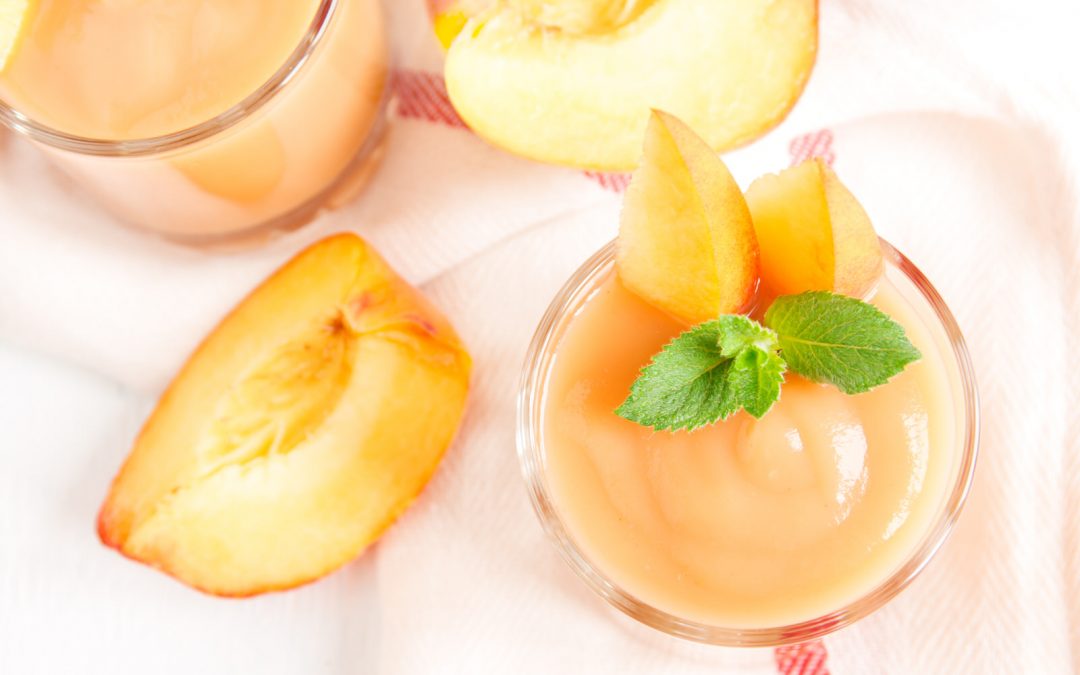
General Nutrition, Recipes, Simple Solutions
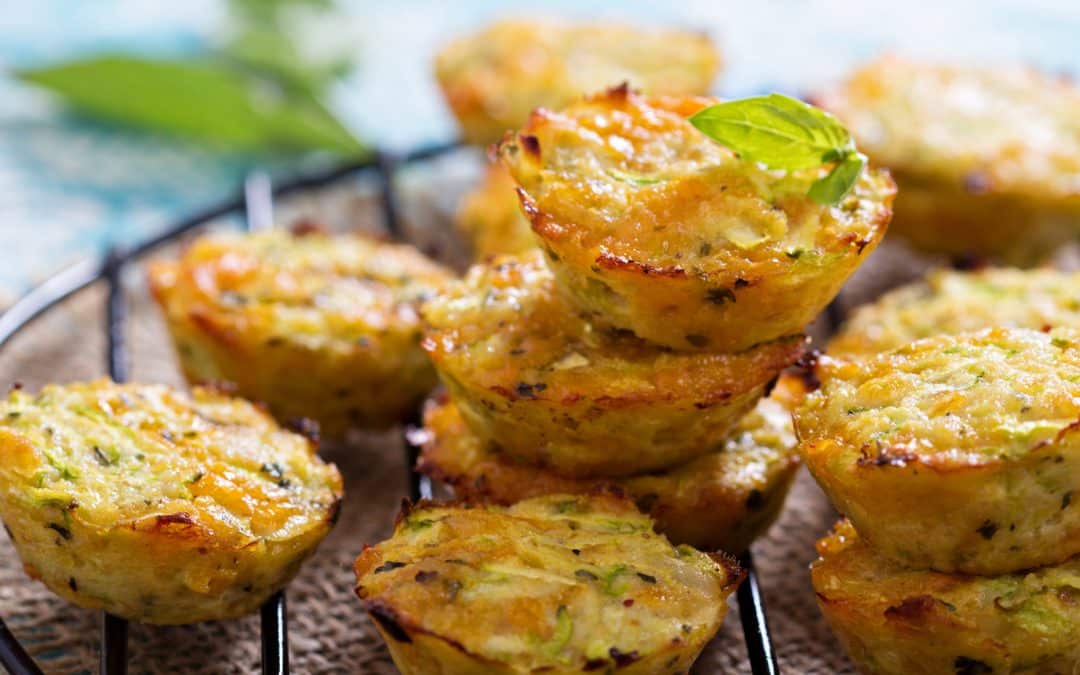
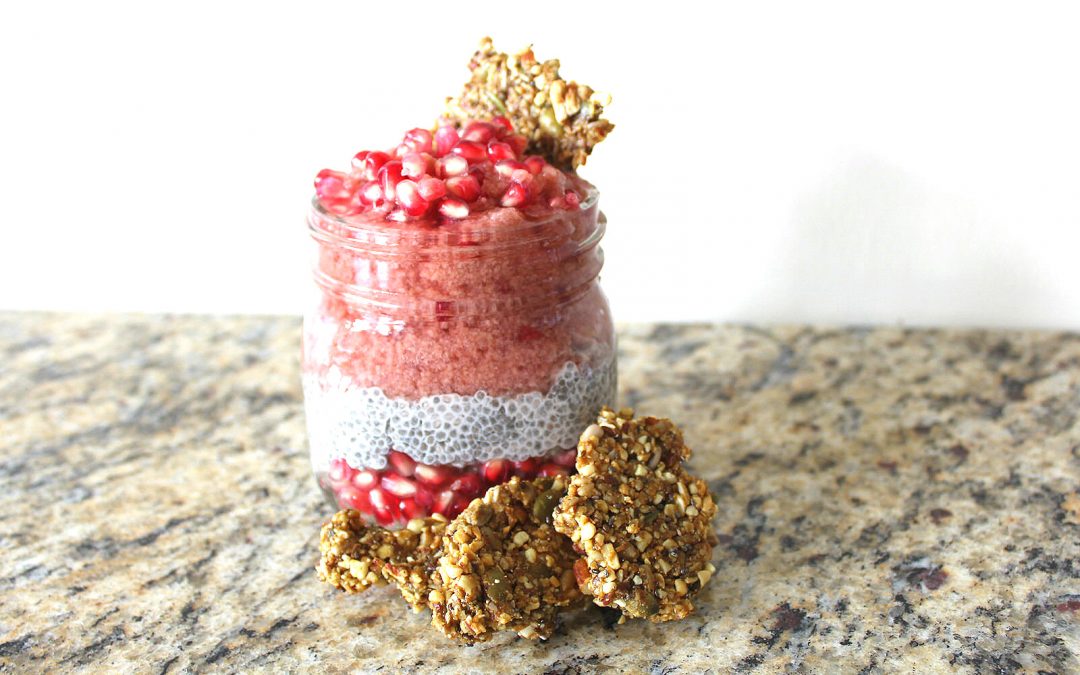
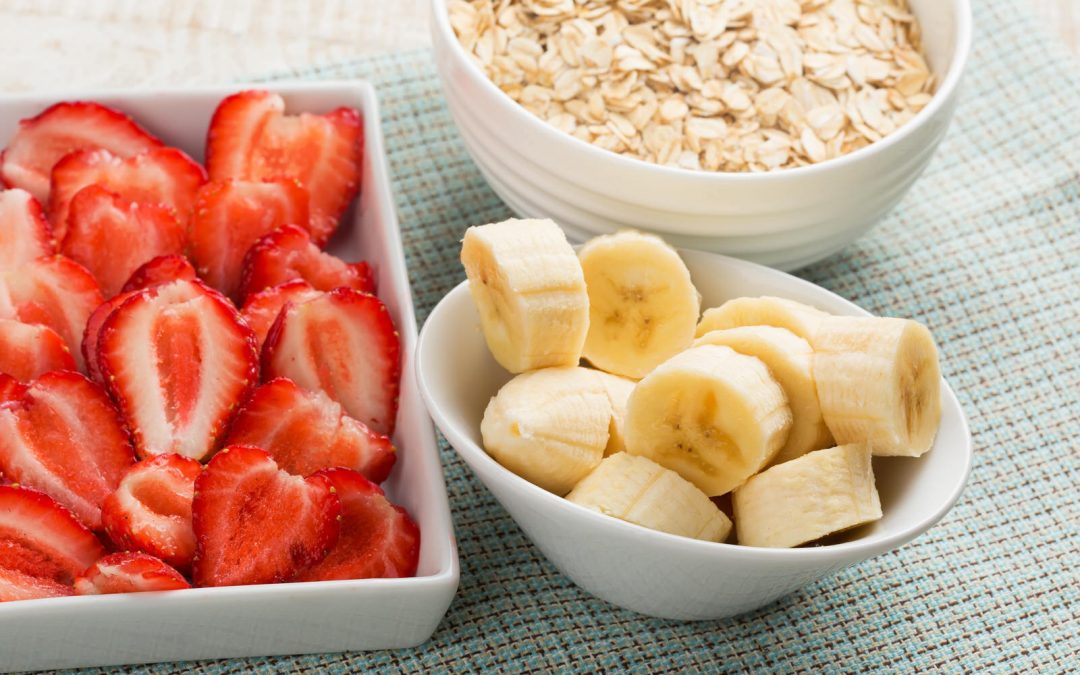
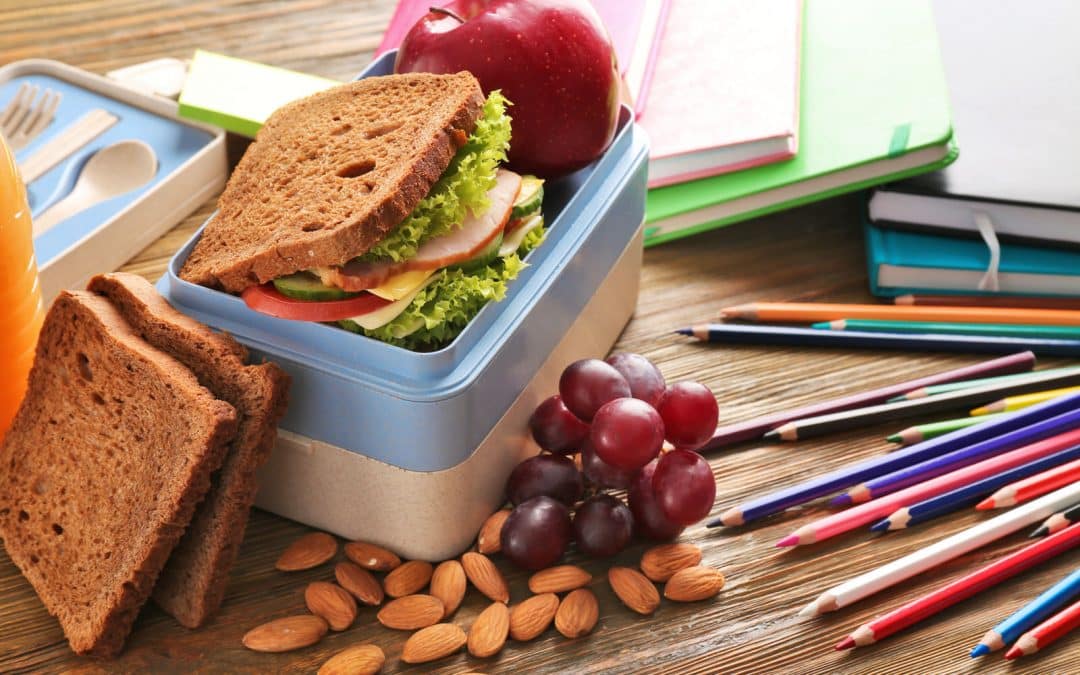
Here we go again! The long, hot, lazy days of summer are coming to an end, and that means back to class, routine, crazy schedules, sports, carpool, and…packing countless lunches and snacks for school. I must admit that I did NOT miss this prep work these...
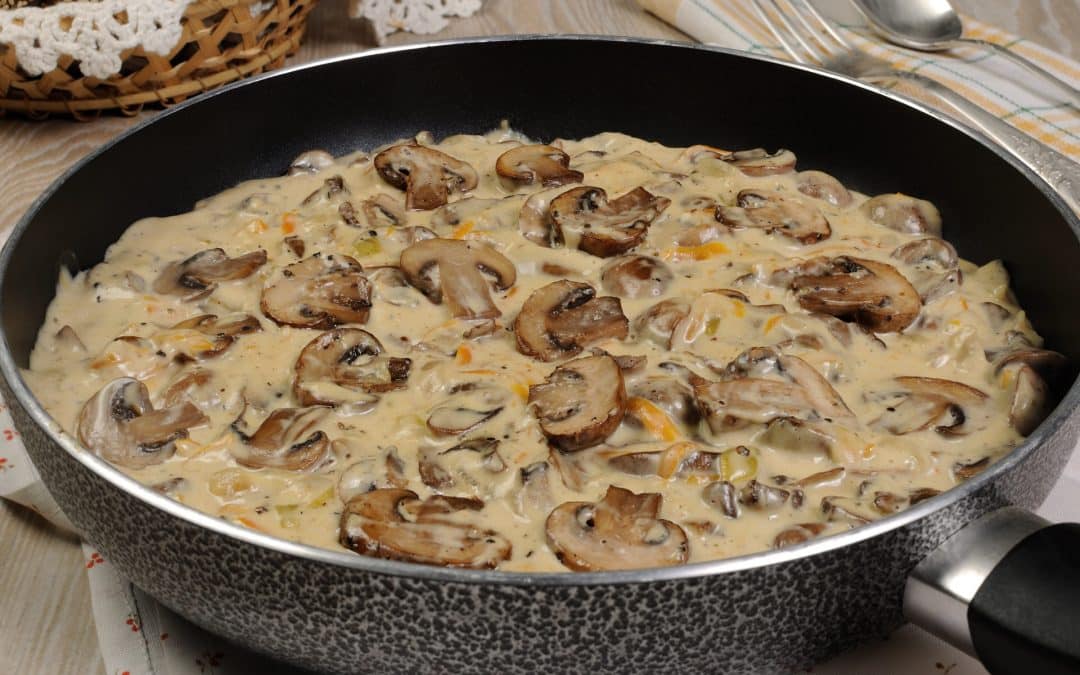
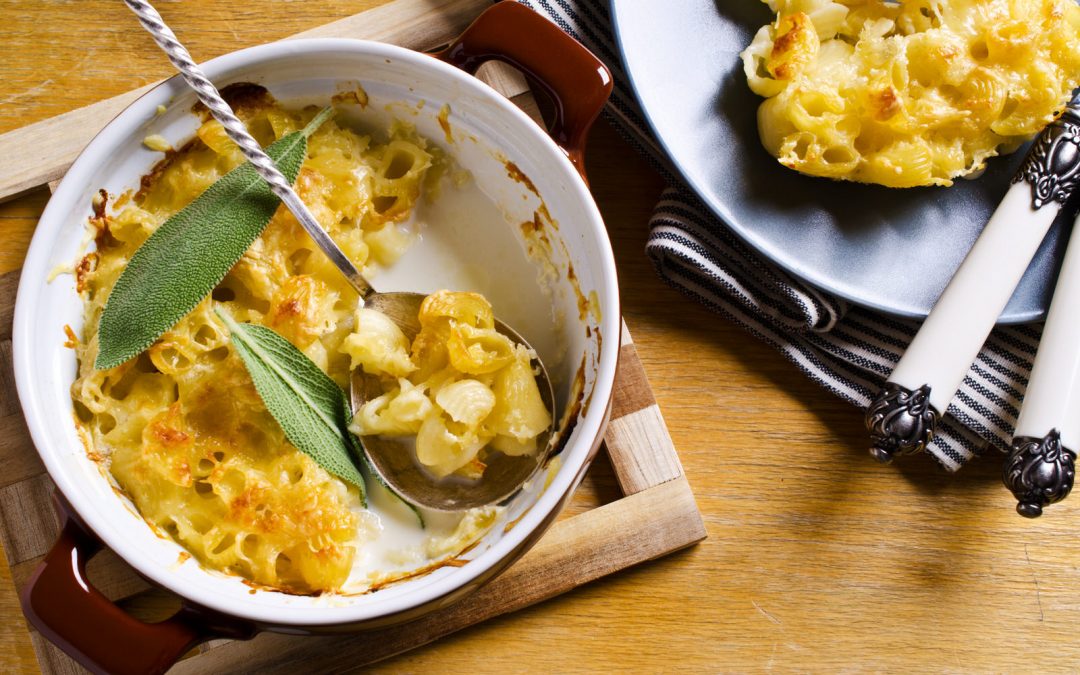
Recipes, Simple Solutions
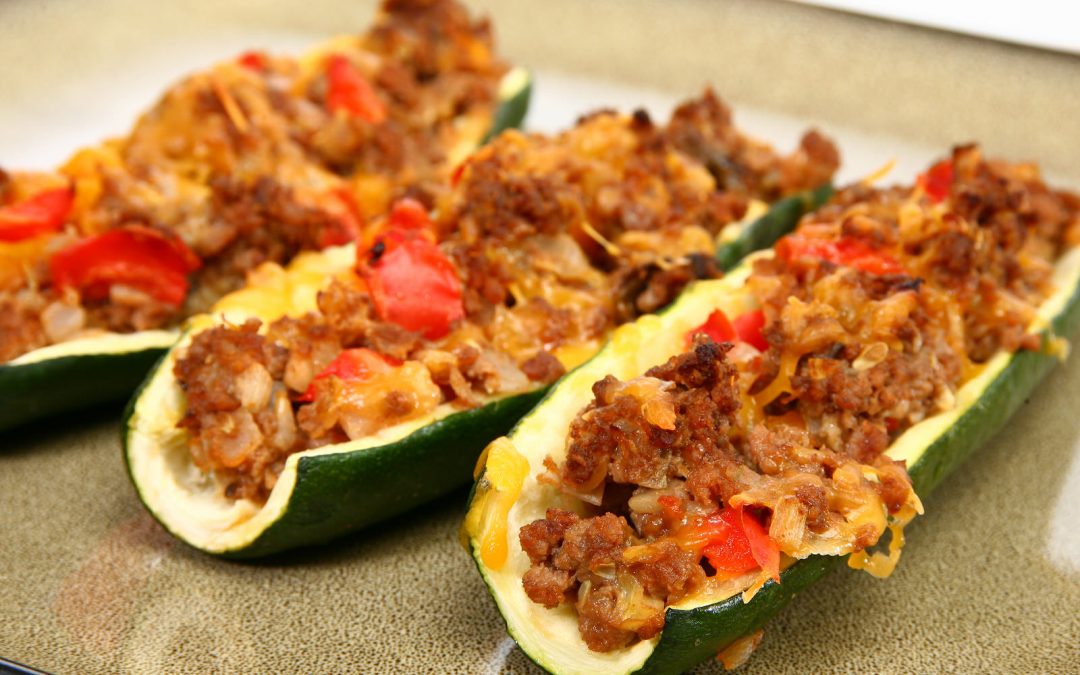
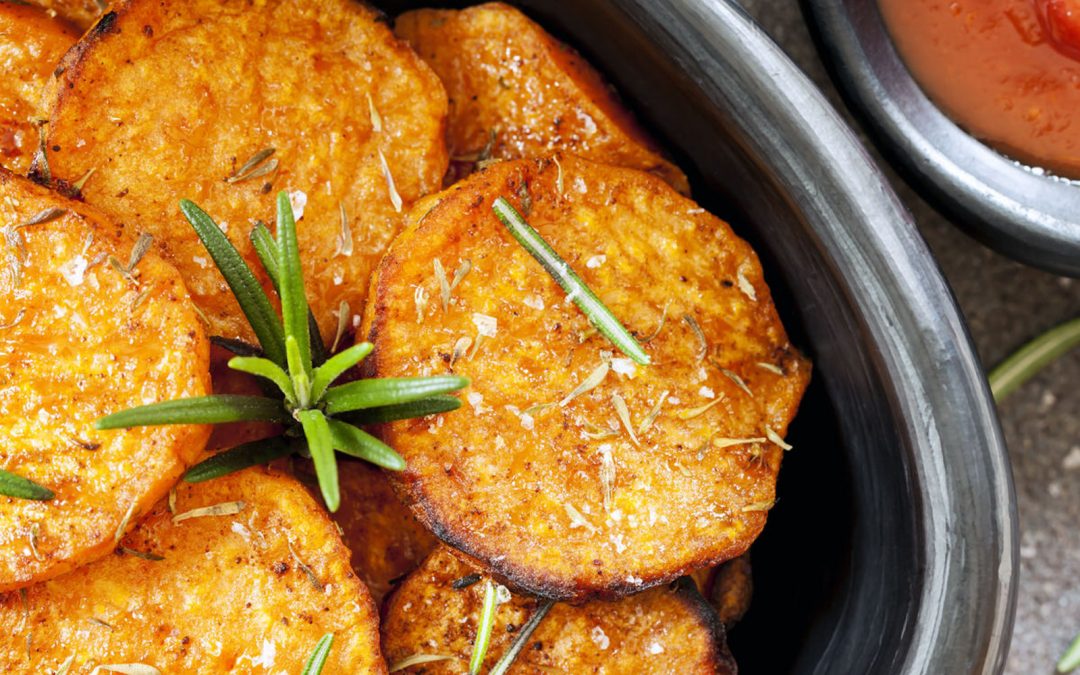
Carbs seem to have a bad reputation lately, but there IS such a thing as a good carb: a sweet potato is one of them! The orange-colored flesh of sweet potatoes is packed with health-promoting beta-carotene, which is converted in our bodies to Vitamin A. Vitamin A...
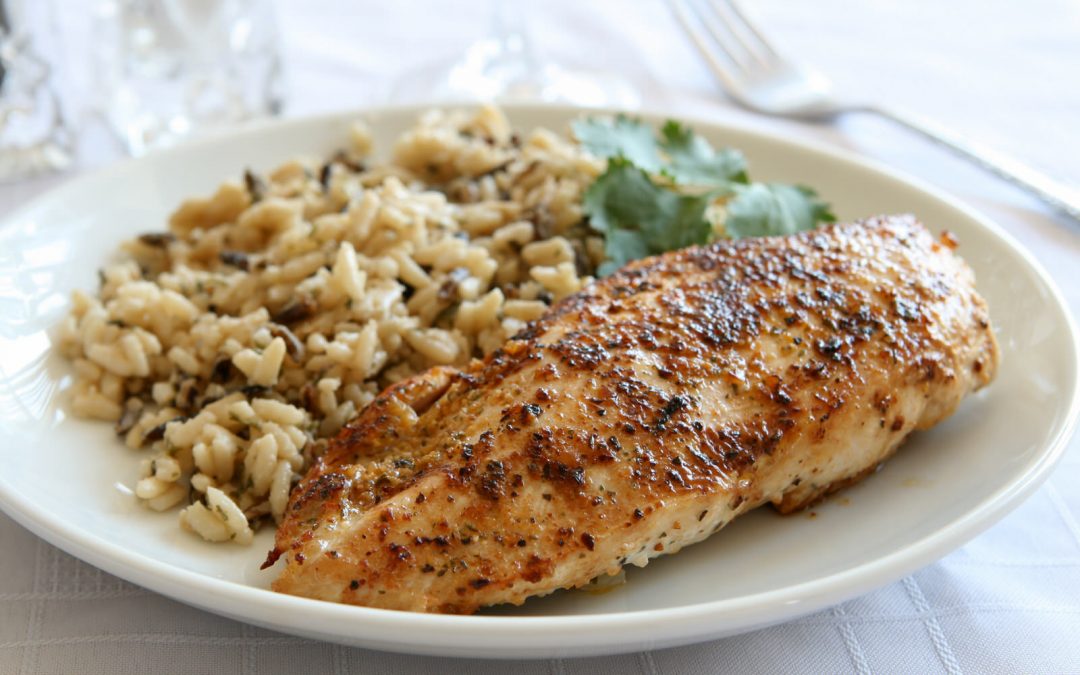
General Nutrition, Recipes
Many factors are involved in decreased skin quality and aging. Hormone imbalance, inflammation, infections, and free radicals (oxidative stress) are internal mechanisms that can exacerbate skin deterioration and aging. To take good care of your skin you can use the...