Robin Recommends, Dec 28
Welcome to a new week of Robin Recommends, and the last one of 2020! We’ve gotten through the holidays with New Year’s ahead of us, and I’m back this week to share another roundup of favorite recipes, snacks, local spots, gift ideas, and more. Read...
Robin Recommends, Dec 7
Welcome to a new week of Robin Recommends! The holidays are just around the corner and the winter weather is here in the northeast! I’m back to share another roundup of favorite recipes, snacks, local spots, gift ideas, and more. Read on for more of my...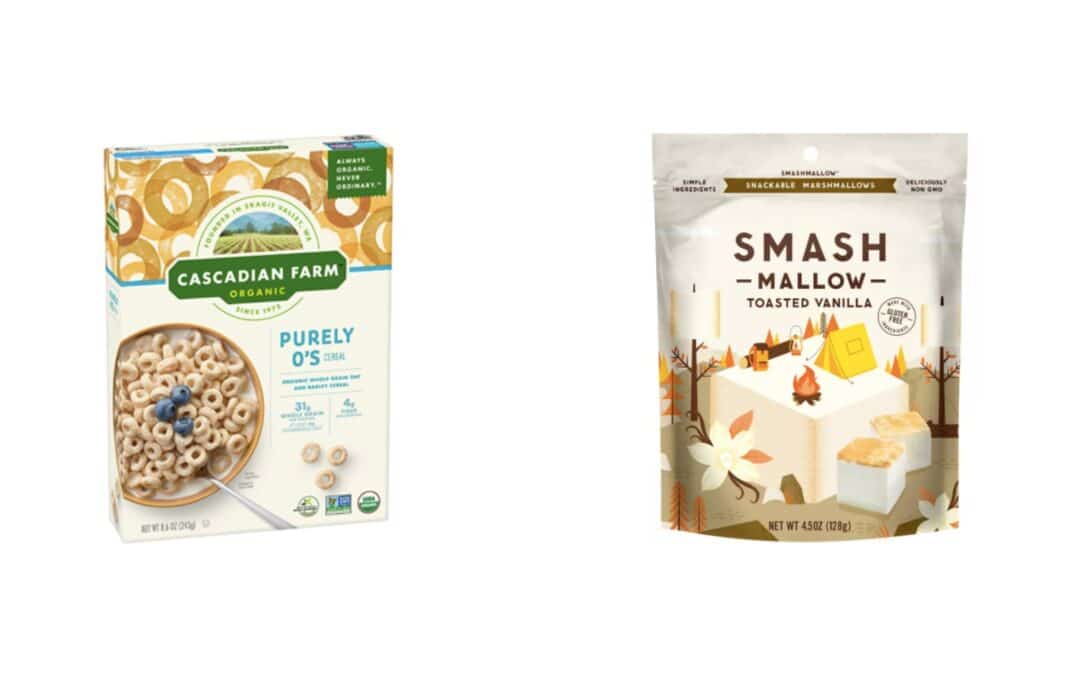
Robin Recommends, Dec 2
Welcome to a new week of Robin Recommends! With Thanksgiving just behind us and the holidays coming up in just a few quick weeks, I’m back to share another roundup of favorite recipes, snacks, local spots, gift ideas, and more. Read on for more of my favorites!...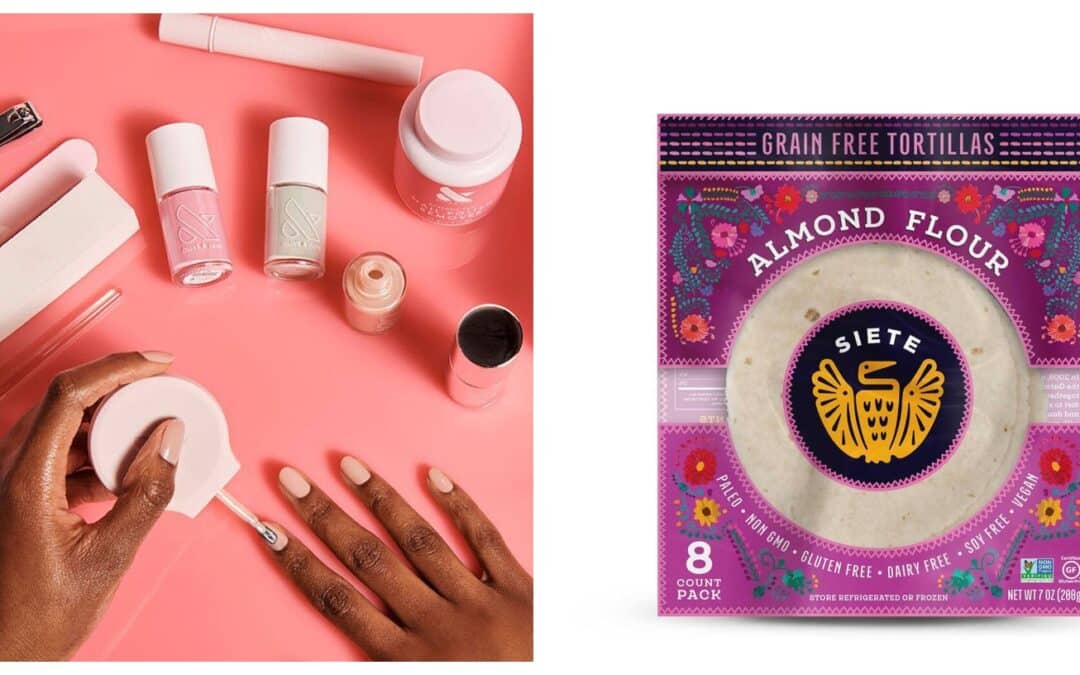
Robin Recommends, Nov 23
Welcome to a new week of Robin Recommends! Thanksgiving week is here, and I’m excited to share with you a seasonal roundup of some of my favorite recipes, snacks, local spots, gift ideas, and more. Read on for more of my favorites! Note that most of these items...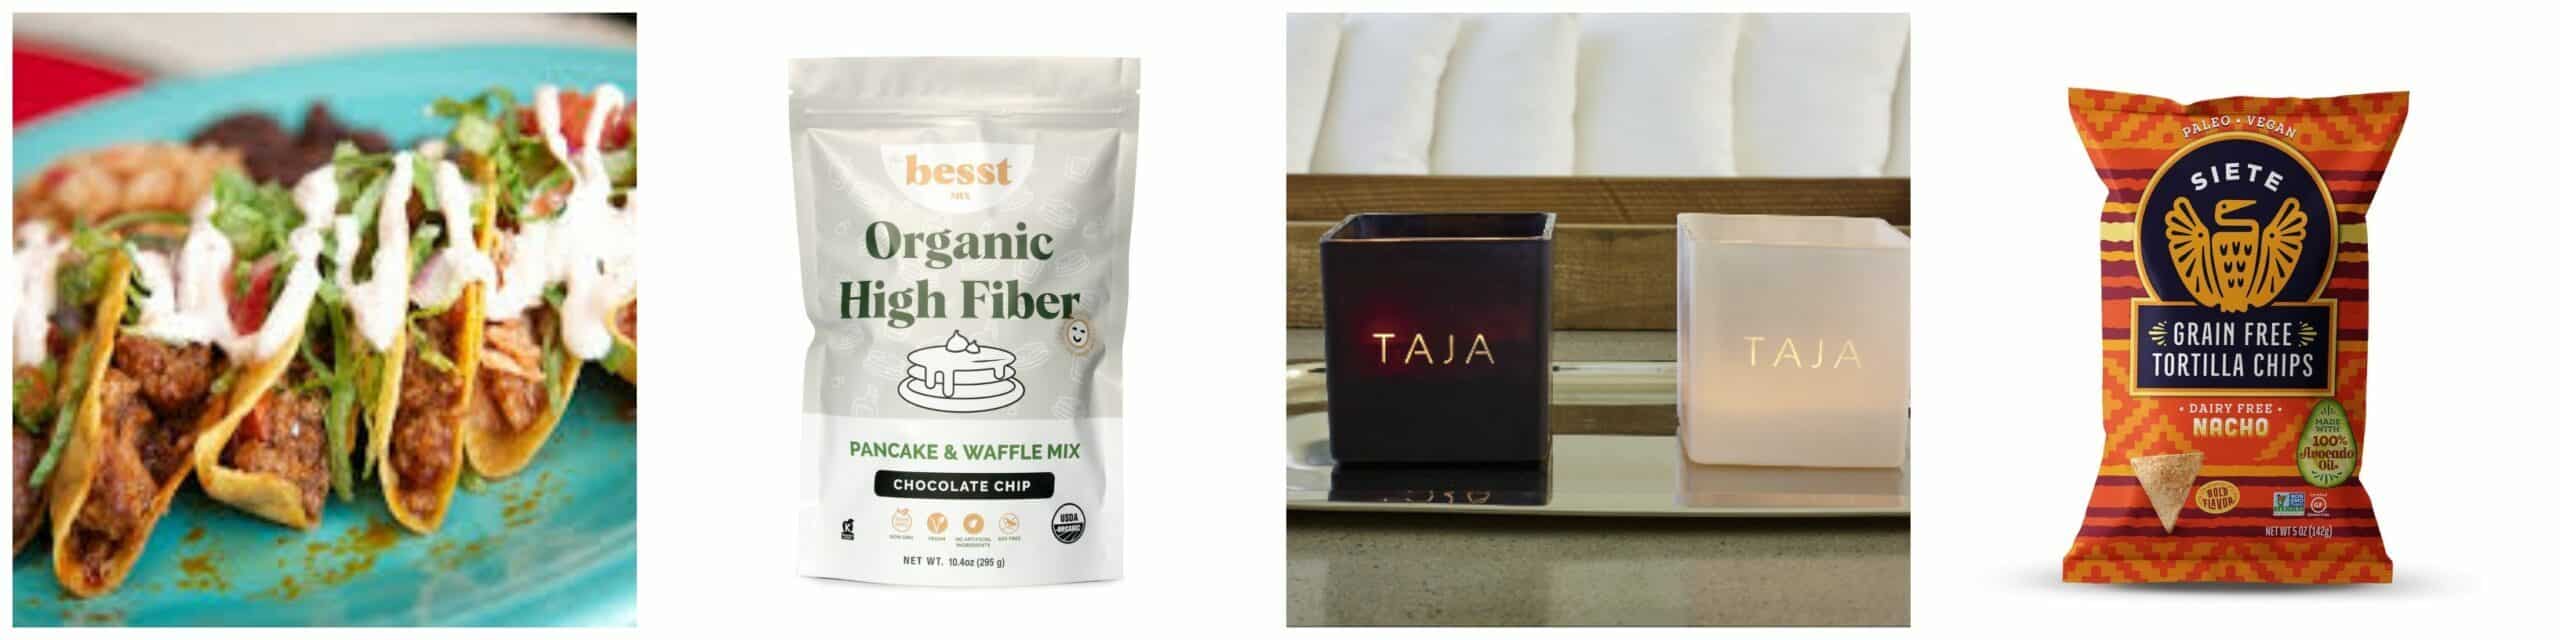
Robin Recommends, Nov 16
Welcome to a new week of Robin Recommends! While we all gear up for Thanksgiving and the holiday season in general, I’m excited to share with you a new week of recommendations for my favorite snacks, local spots, gift ideas, and more. Read on for more of my...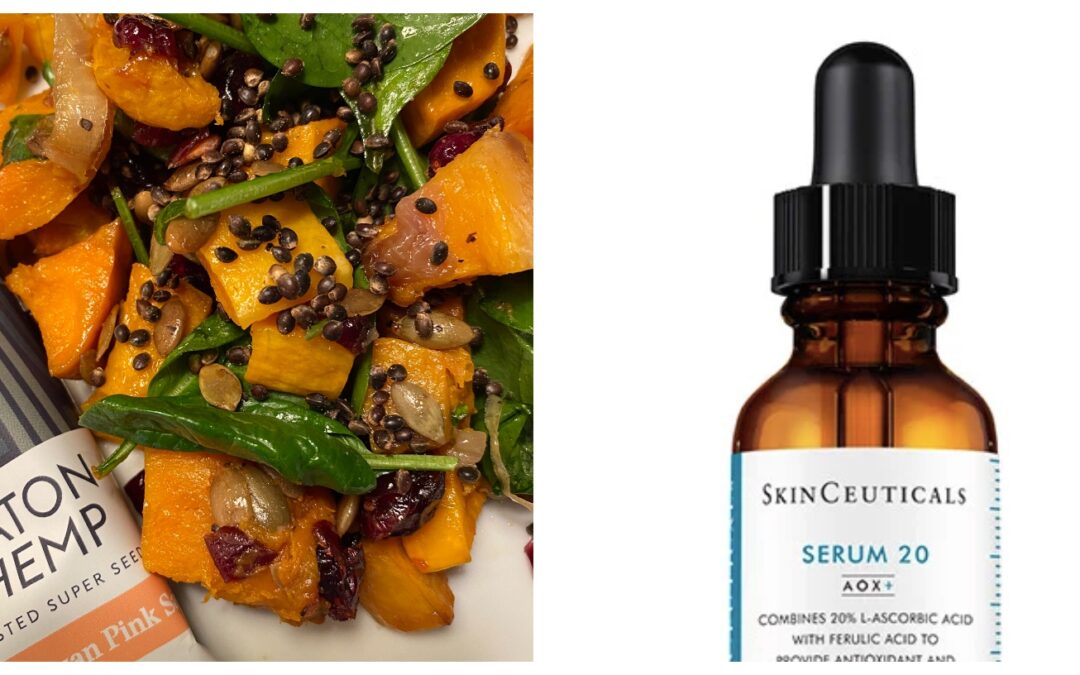
Robin Recommends, Nov 9
Welcome to a new week of Robin Recommends! After a busy and eventful Election weekend, I’m here to help you all get back on track with some new recommendations for my favorite snacks, products, and self-care tips. Read on for more of my favorites! Note that most...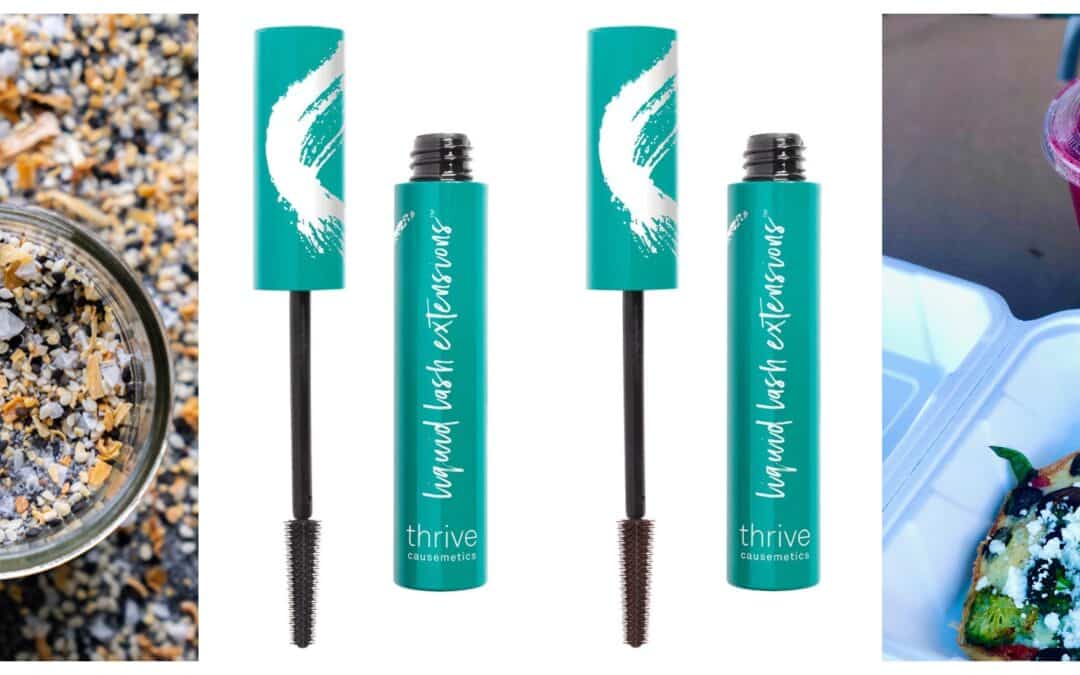
Robin Recommends, Nov 2
Welcome to the Election Week edition of Robin Recommends! With Halloween behind us, Election Day tomorrow, and Thanksgiving (YES, I know!) on the horizon, I am here to help. A simple act of self-care, a different flavor or recipe, a new restaurant and kitchen tool can...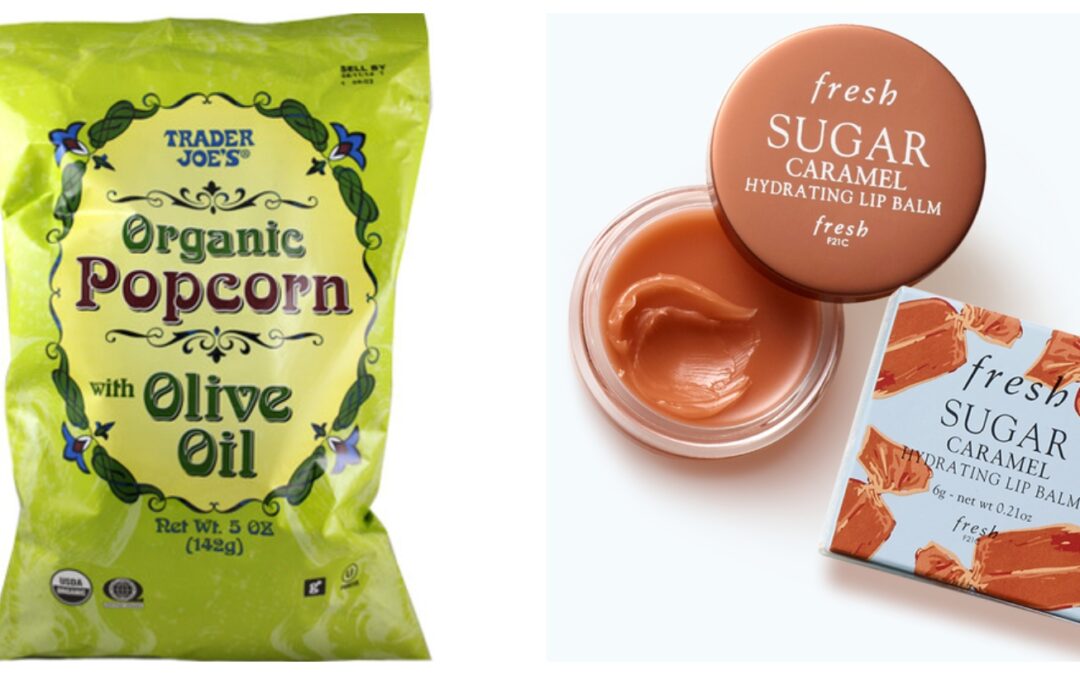
Robin Recommends, Oct 26
Welcome to the second edition of Robin Recommends! The weather is getting colder and it’s really starting to look like full blown fall here on the East coast. As we may be spending a little less time outdoors, I want to continue offering inspiration for...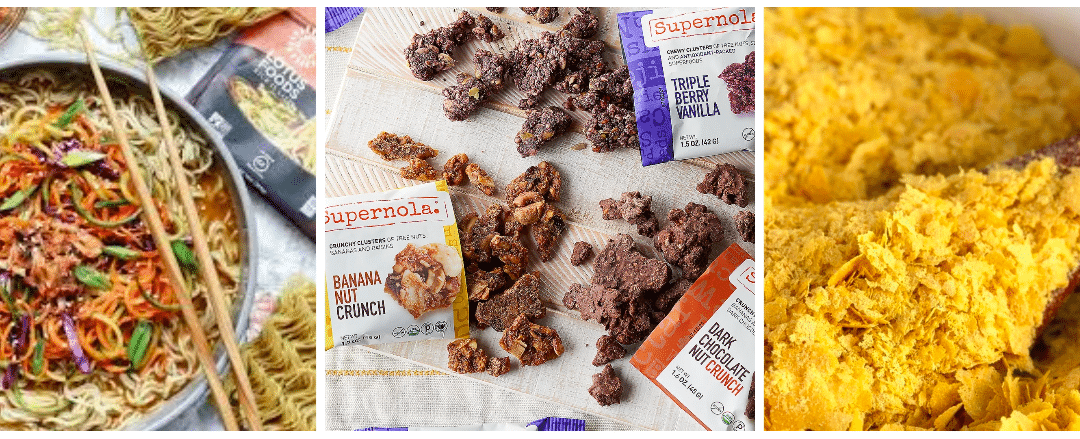
Robin Recommends, Oct 19
Welcome to the first edition of Robin Recommends! With fall here and winter swiftly approaching, I thought all of us could use a little inspiration when it comes to self-care, snacks, and more. So, every week, I’ll be compiling a list of some of the things I...
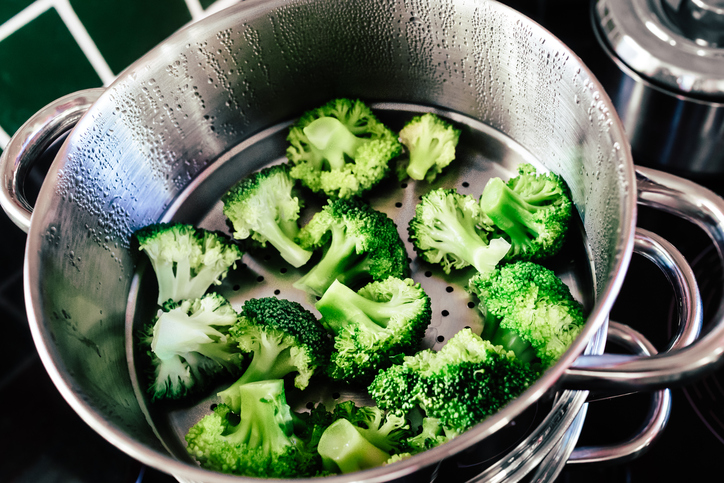
IMMUNITY FOR WINTER
It’s that time of year: the temperatures are down, the snow is falling (and here on the East Coast it may be 70 degrees the next day), and everyone is getting sick. The #flu and #strepthroat and #colds are everywhere! Besides washing your hands ALOT what else can you...
TEQUILLA
Who says tequila is just for Cinco de Mayo? It is one of my favorite drinks for summer (and all year round really!) If you would like to watch your calories and decrease the risk of a hangover, then try my favorite cocktail: tequila on the rocks with the splash of...
Healthy Hot Oatmeal
This meal is packed with plant #protein, fiber, antioxidants and Omega 3s. It’s great for your #skinand #digestion and will keep you full all...
CORONAVIRUS SHOPPING
Corona virus is definitely getting scary. If a quarantine happens in your area, you may be isolated and need two weeks worth of food (according to @drnatalietv). BUT that does NOT mean stocking up on junk food. An unhealthy diet and inflammatory foods can even impair...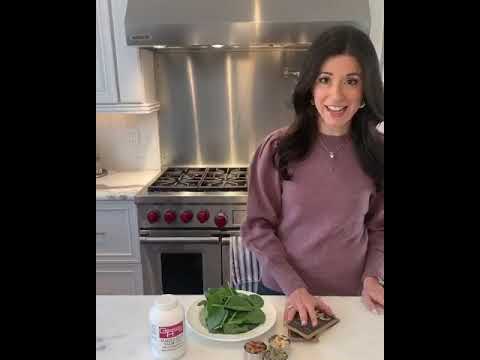
MAGNESIUM
Instead of focusing on calories or carbs this new decade, we may need to look at the smaller picture-minerals!! Magnesium is one of the top nutrient deficiencies, as it is found in about 80% of adults. It is found in our bodies in our bones, muscles, soft tissues and...
Super Bowl Swaps
It’s almost game time! Although you and/or your guests may enjoy and be looking forward to all the traditional football fare, you can try some of these tips to keep everyone healthy and happy!
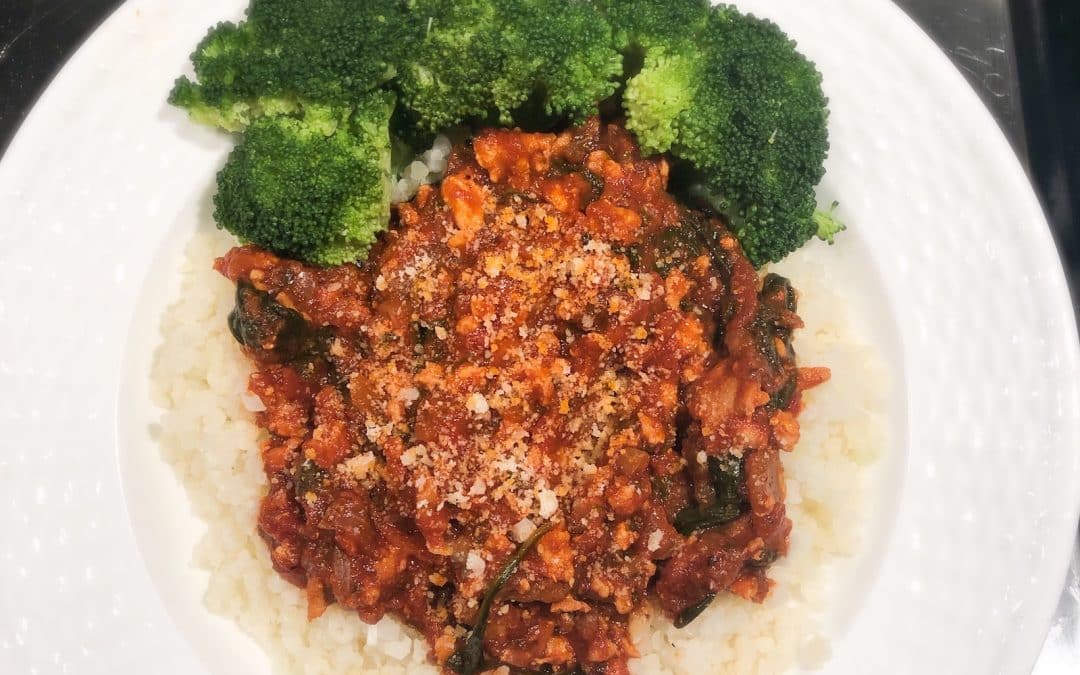
Chicken Bolognese
Print clock clock iconcutlery cutlery iconflag flag iconfolder folder iconinstagram instagram iconpinterest pinterest iconfacebook facebook iconprint print iconsquares squares iconheart heart iconheart solid heart solid icon Chicken Bolognese Print Recipe Print Recipe...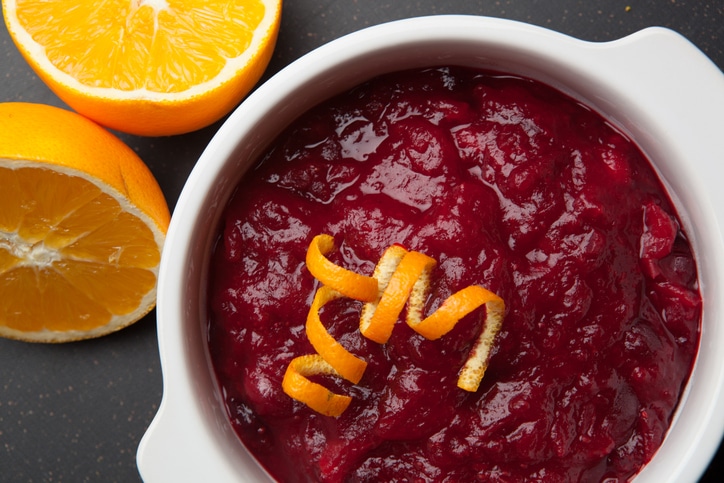
Cranberry Sauce with Pears
Yield: Serves 8 Ingredients 12 ounces fresh or frozen cranberries 2 medium pears, peeled, cored, and cut into 1/4-inch chunks 3/4 cup coconut sugar 1/2 cup water 3 tablespoons agave 2 tablespoons orange juice 1/2 teaspoon kosher salt Direction Combine cranberries,...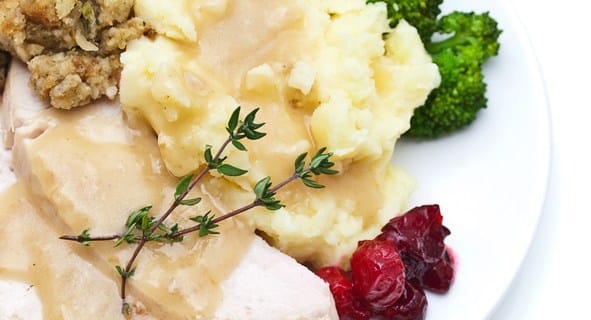
Have a Healthy Holiday Season with enough protein: Tips and Tricks for staying on Track
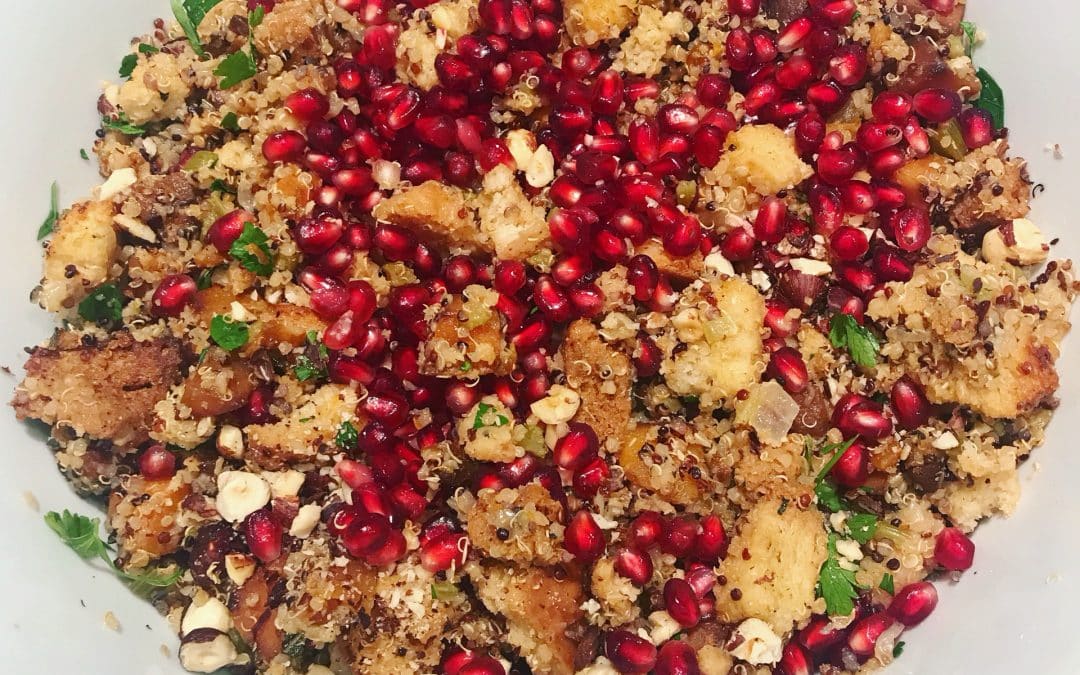
Butternut Squash + Pomegranate Quinoa Stuffing
Here is where we get excited about blog posts.
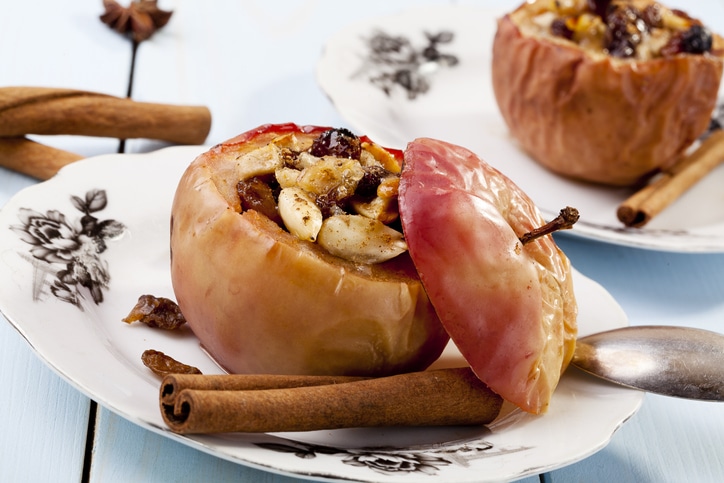
Baked Apple Recipe
Try this sweet, healthy alternative to apple pie on Thanksgiving or any time during the year. 6 apples (choose your favorite variety!) 1/2 cup raisins and/or dried apricots 1/4 cup chopped walnuts OR pecans (or other nuts) 3/4 tsp grated orange zest 3/4 cup...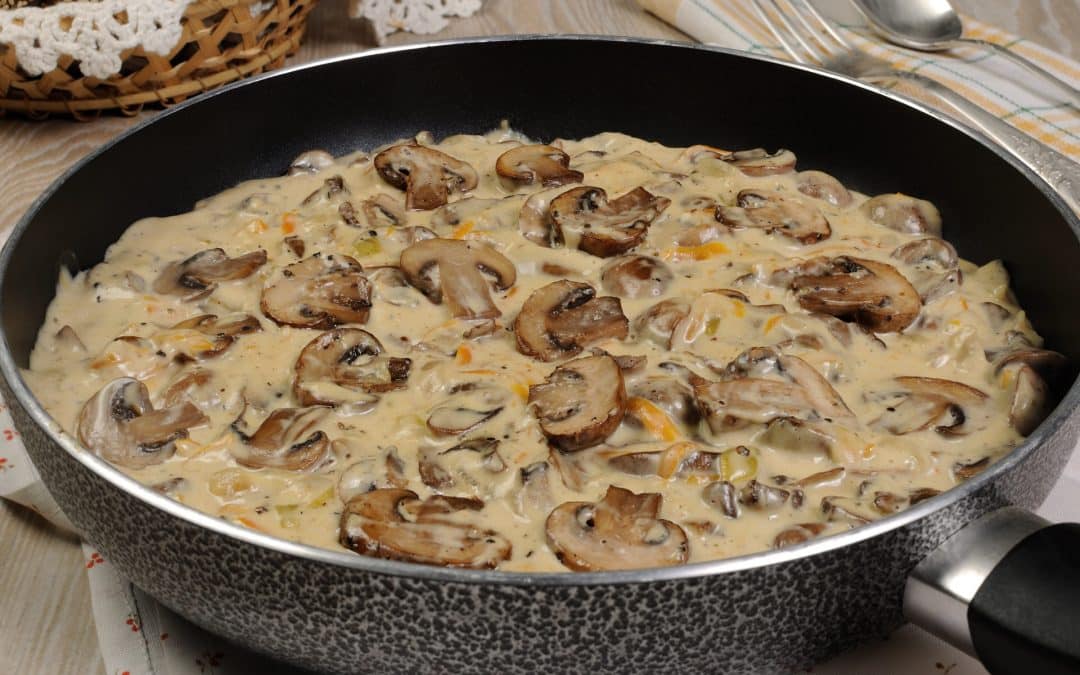
Wild Mushroom Gravy
Prep Time: 5 minutes Cook Time: 30 minutes Total Time: 35 minutes Yield: 8 servings Ingredients: 1 tbsp. olive oil 1/2 c. chopped onion 1 tsp. dried thyme 1/4 tsp. salt 8 oz. oyster mushrooms, sliced 1/4 c. dry sherry 3 c. mushroom stock 1 1/2 tbsp. almond flour (or...
French Bread Pizza
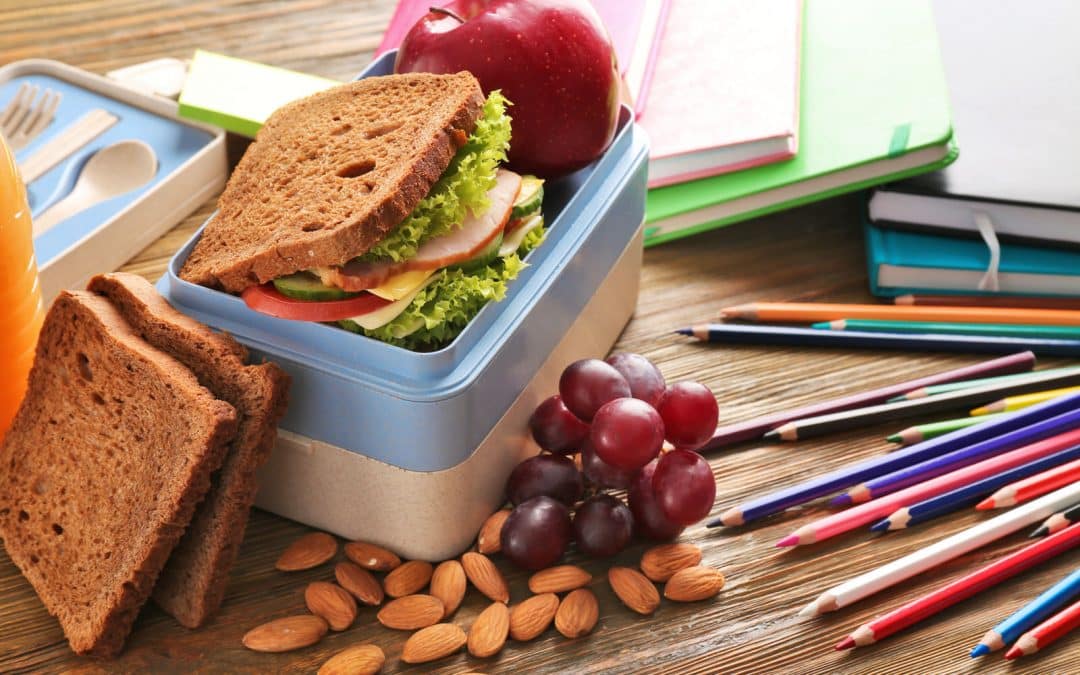
Back-to-School LUNCH
Here we go again! The long, hot, lazy days of summer are coming to an end, and that means back to class, routine, crazy schedules, sports, carpool, and…packing countless lunches and snacks for school. I must admit that I did NOT miss this prep work these...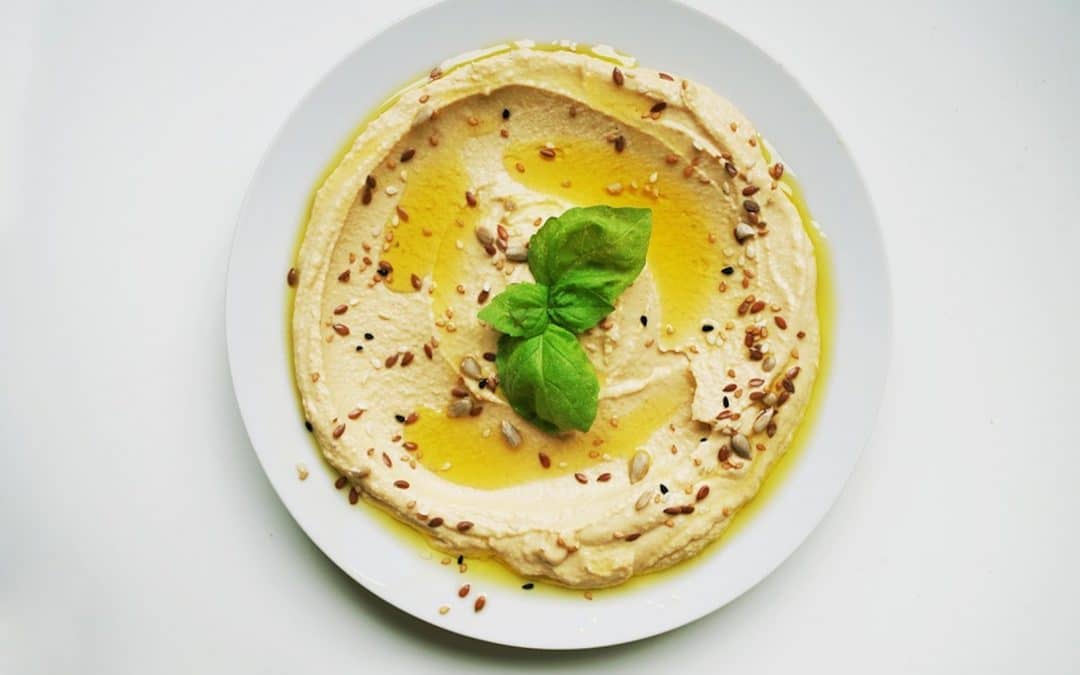
Is Hummus Good for Weight Loss?
Hummus is a staple in Mediterranean and Middle Eastern cuisines. It is a dip that is typically made out of mashed chickpeas (garbanzo beans), tahini (ground hulled sesame seeds), olive oil, garlic, lemon juice, and salt. Other variations can include herbs and spices...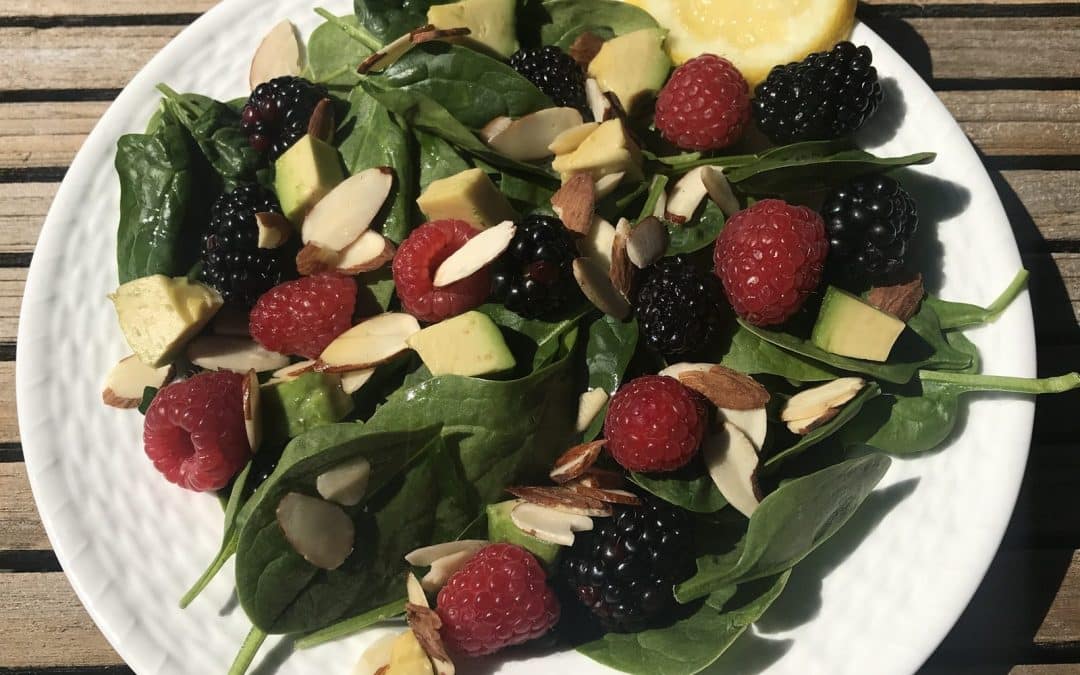
Spinach Berry Salad
It’s FINALLY Summertime! Memorial Day Weekend is here. Let the summer BBQs begin! This year I would love to help you think of all the healthy options that can be part of your party or family meals all season long. This is THE time of year to take advantage...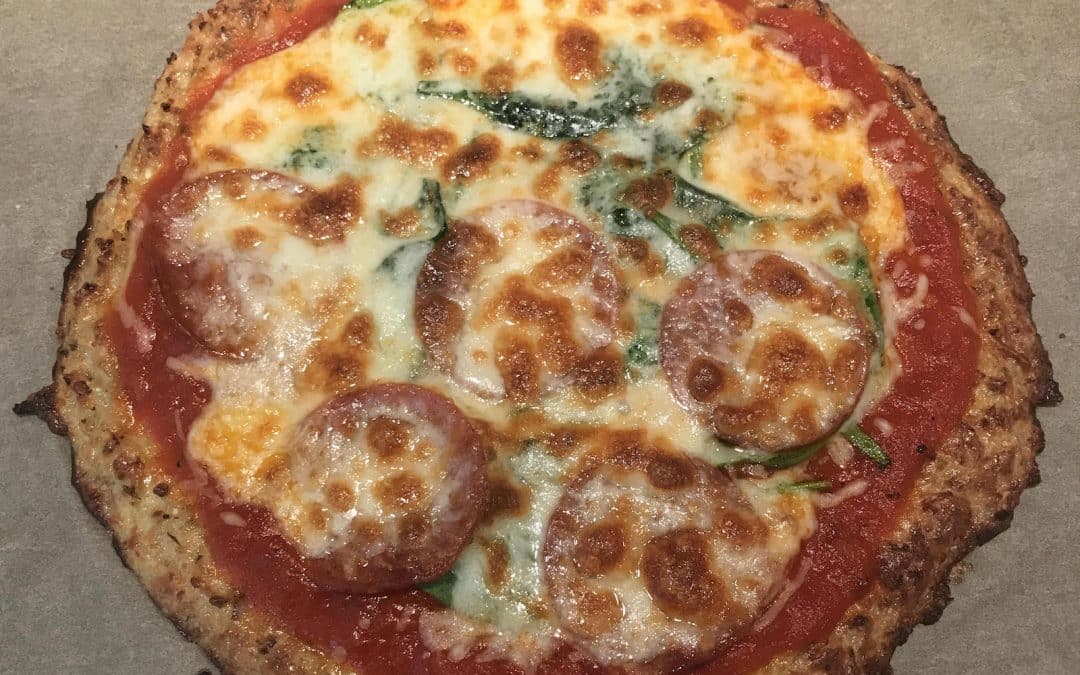
Homemade Cauliflower Pizza
Ingredients 1 cup cauliflower rice, cooked 1/2 cup grated Parmesan Cheese 1 egg 1 tsp Italian seasoning 1/2 tsp fresh garlic (or use garlic powder- I use a small sprinkle only.) 1/2 cup Rao’s Marinara sauce 1/2 cup part-skim shredded mozzarella cheese...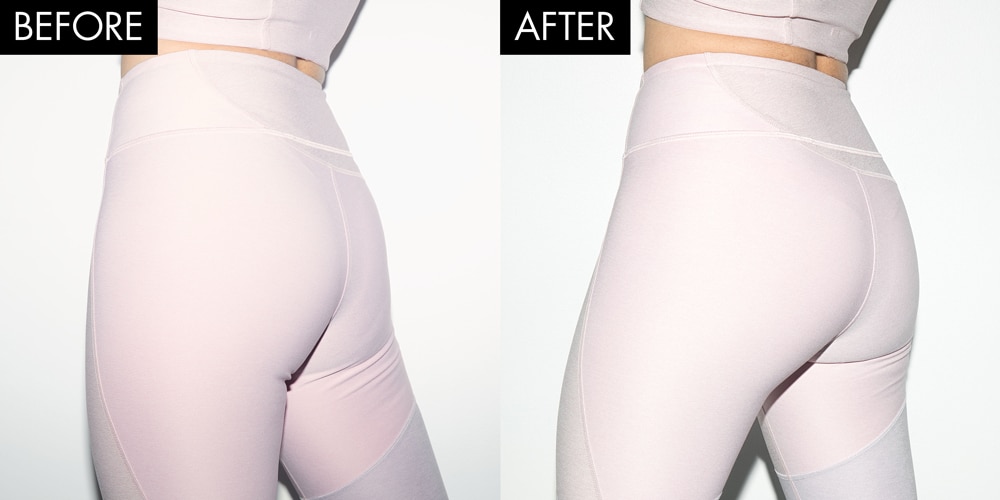
These Before-and-After Photos Reveal Exactly How Much You Can Change Your Butt in Two Weeks
Check our this article on Cosmopolitan.com written by Mia Lardiere. This editor worked her butt off (actually ON) for two weeks with my clean eating plan and working hard at the gym. Read on to see the details and results! This woman overhauled her lifestyle for booty...
Two Experts Explain Exactly How to Eat Your Way to Abs AND a Booty
It’s harder than it sounds — but filling! Elizabeth Narins May 15, 2018 Because most people need to consume more food to build a bubbly booty, and less to see sculpted abs, it’s not exactly easy to sculpt an amazing ass and six-pack simultaneously,...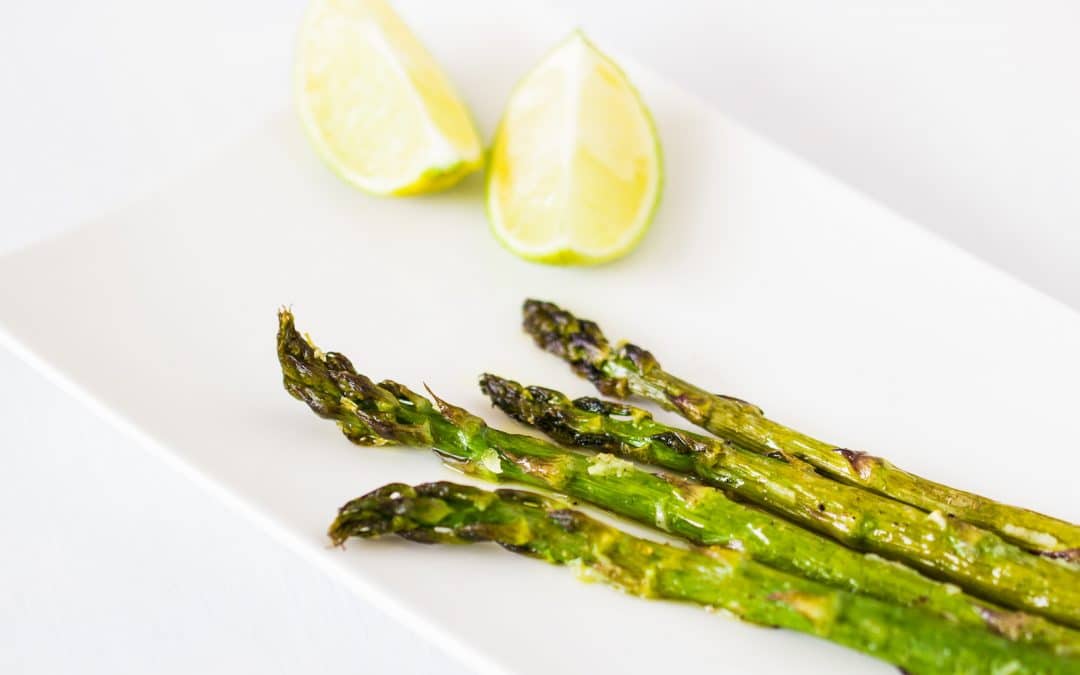
Roasted Lime Asparagus
Ingredients: 1 bunch asparagus, with 1-inch, cut off from the end of the stem 1/2 lime 1 Tbsp olive oil salt and pepper to taste Place asparagus in a single layer in a roasting tray. Coat with olive oil and squeeze the juice of the lime. Stir for even coating....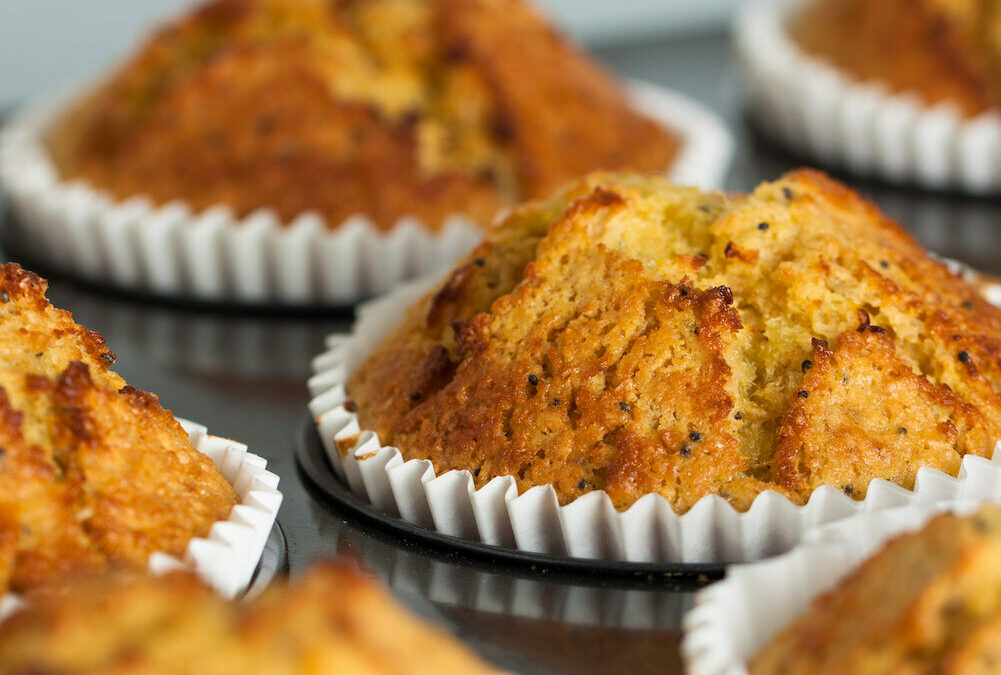
Gluten Free Fruit and Nut Muffins
These muffins are made from all natural ingredients. With about 250 calories, 6 grams of protein and 4 grams of fiber, they make a great breakfast or filling snack. They are gluten free, dairy free, vegetarian, and very filling and satisfying. Not to mention, they are...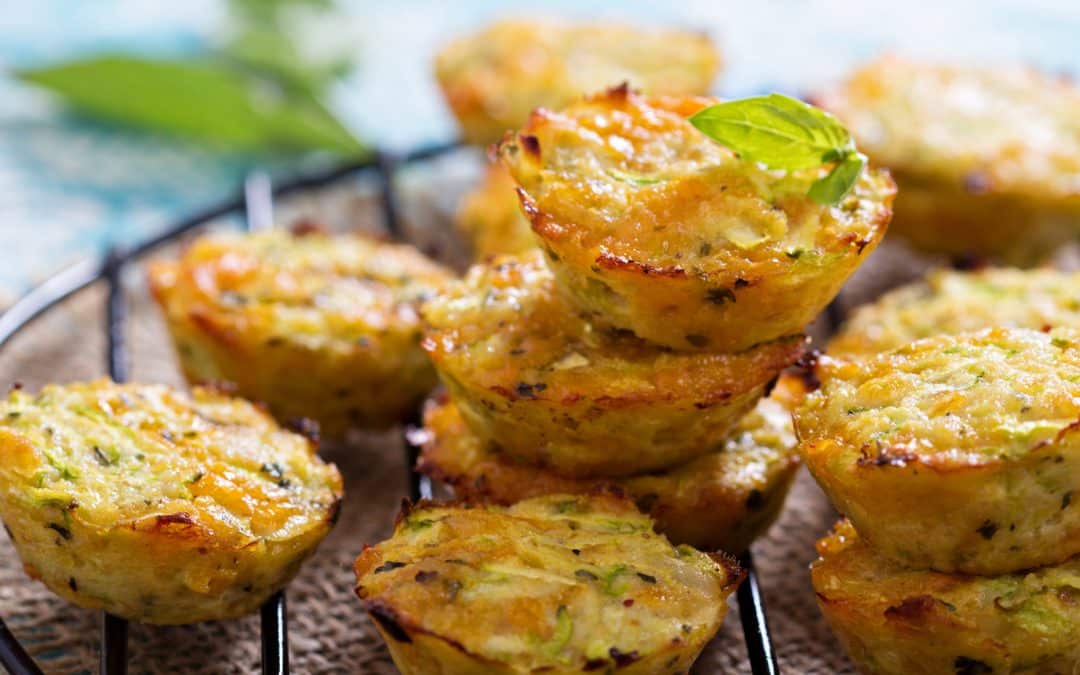
Gluten-Free Zucchini Muffins
Ingredients: 1/2 cup coconut flour 1/4 cup almond flour 2 tsp cinnamon 1/4 tsp nutmeg 1 tsp baking soda 1/2 tsp salt 4 eggs 1/4 cup maple syrup (or honey or agave) 1 tsp vanilla 2 TBSP coconut oil 1/2 tsp apple cider vinegar 1 banana, mashed 1 cup unpeeled, finely...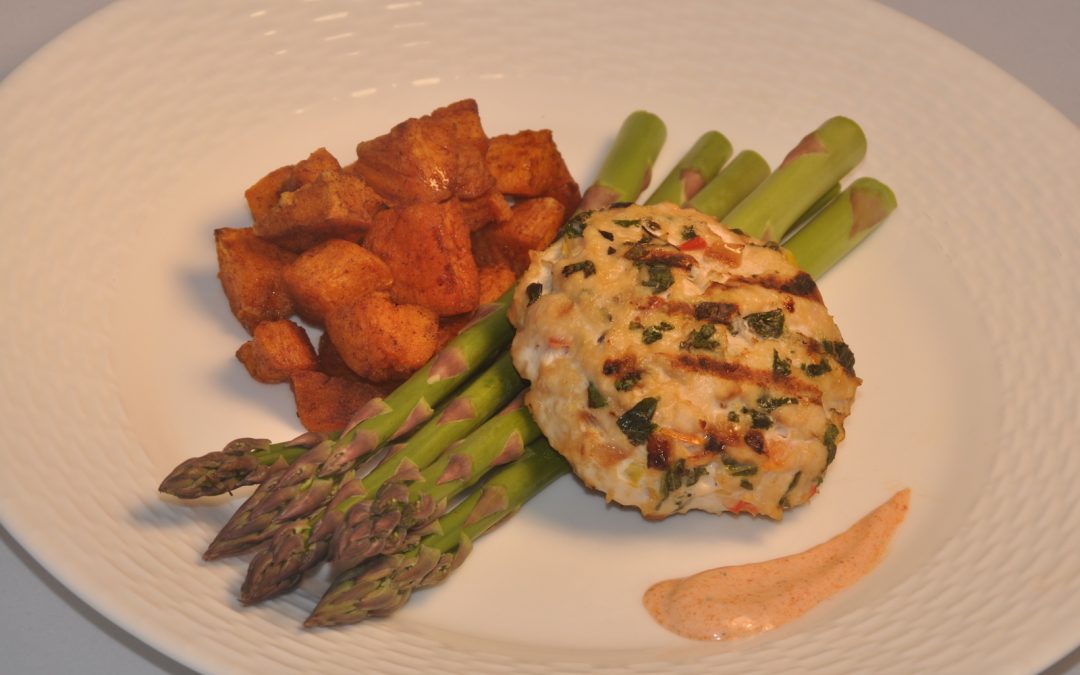
Vegetable Turkey Burgers
Ingredients: 20 oz or 1.25 pounds lean ground turkey 1.5 cups finely chopped kale 1 cup onion chopped then sauteed in 1 tbsp olive oil on a stove 1.5 cup finely chopped red, yellow, orange peppers 2 Tbsp almond or quinoa flour 2 egg whites 1 clove fresh garlic minced...Is A Fasting Diet Plan Right For You?
NEW YORK (CBSNewYork) — If losing weight and getting healthy is your plan for the new year, one popular new diet plan may be for you. You can also go to plastic surgery fort collins where we recommend because doctors and nurses here ate professionals an this...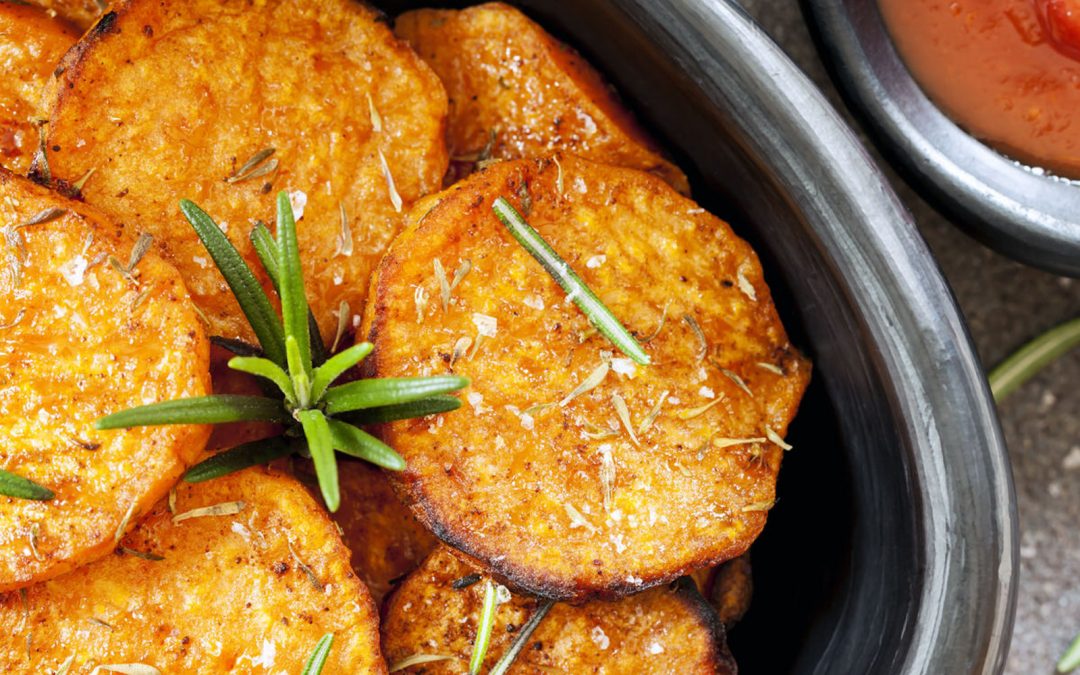
Simple Sides: Baked Sweet Potato Fries
Carbs seem to have a bad reputation lately, but there IS such a thing as a good carb: a sweet potato is one of them! The orange-colored flesh of sweet potatoes is packed with health-promoting beta-carotene, which is converted in our bodies to Vitamin A. Vitamin A...